


I am on a mission this year to work through my WIP drawer and finally finish up the slightly embarrassing amount of almost done projects I have stored in there.
I was able to cross one project off the list today when I put the final binding stitches on this little art quilt I made from one of my daughter's drawings.

I started this project about 18 months ago after I took a Cityscape quilt class with Susan Powell. I had never made an art quilt before ,and I really enjoyed her applique method. When I got home from that class, I started thinking about what else I could do with what she had taught us. The following evening my daughter drew this spooky forest picture while we were out to dinner at one of our favorite restaurants.

As soon as I saw it, I thought "hmmm, I wonder if I can turn this into a quilt..." And so I started experimenting. I wish I had more work in progress photos to share, but since I started this over a year ago I was not really thinking about a blog back then. What I ended up doing was taking the drawing to our local copy shop and enlarging it slightly. I made a few copies in different sizes until I got what looked right to me. I realized a little bit too late that I should have reversed the image before printing out the copies - so that is a lesson learned for next time!
I taped the drawing onto a window on a nice sunny day, got out my Heat'n Bond Lite and a sharpie and got to work tracing out the individual shapes in the drawing. After I had each shape traced, I carefully cut each one out, pealed off one side of the waxy paper and ironed it onto the wrong side of the fabric I was going to use for that particular piece. Then I cut out each ironed on shape from the fabric. I used a large piece of white Kona cotton as my background and I started building the drawing from the background forward. So once I had all the pieces cut out in fabric, I arranged them on the white background starting with the large blue sky and green grass. Then I layered on the sun in the far corner, the tree trunks and finally the tree tops. Once I had everything in place, I removed the second sheet of waxy paper and ironed all the fabric pieces onto the background.
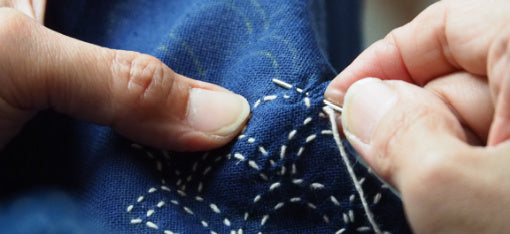
Once all the shapes were in place it was time to start adding details. I used a wide zigzag stitch in black thread to outline the tree trunks like my daughter used her black crayon. I did a little bit of free motion squiggly quilting to add in the clouds in the sky & add some texture to the sun. I think my favorite part of this whole mini quilt was adding in her handwritten "Booooooo !"


Because I had forgotten to reverse the image when I copied and enlarged it, the text was backwards on my copy. So I used my Golden Threads quilting paper to trace her handwriting from the original drawing so that I could transfer it onto the quilt. I am very much a novice free motion quilter, so the finished product is far from perfect, but I love that my daughter's 6 year old handwriting is now captured on this quilt.
Once I was done with all the machine stitching, I decided to add one final special touch to this little treasure - instead of stitching in the apples on the trees I dug into my great-grandmother's button collection.

Hand sewing each button was a little more tedious than I expected, and it was at that point that this project ended up in my WIP drawer for over a year! So last week, I finally finished adding the buttons, attached the binding and finishing this one up. I LOVE how this turned out and the best part was seeing my daughter's face when she finally got to see her drawing turned into a mini quilt. Finishing this up has also inspired me to finally do another project I've been meaning to do for years - starting an Art Gallery of my girls' artwork in our house. I bought some frames and picked out a few of our favorite drawings so that these works of art can hang in the stairway of our house.

All in all, I learned a lot from this super fun project. This project got put aside not only because I got bored of stitching on the buttons, but also because I was afraid of adding in the clouds with free motion quilting. I love free motion quilting and have done a ton of reading about it, watching youtube videos and classes, but it finally occurred to me recently that I was never going to get better at it until I actually start doing it. Like I said, I am not great at it, but hopefully over time it will get easier. For now I am so happy to have this done and ready to hang in our home gallery. I look forward to making one for my younger daughter in a couple of years. :)

Leave a comment