


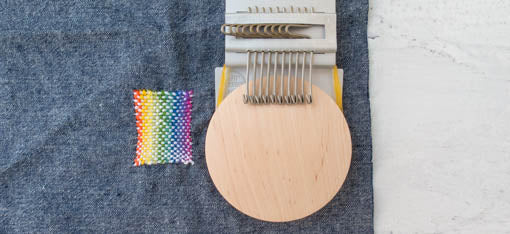

Postage stamp quilts are one of my all time favorites. I love how simply piecing small squares of fabric together can create something so beautiful and interesting.

(Photo Credits from Left to Right: Postage Stamp Pot Holder by Crazy Mom Quilts, Scrap Busting Rainbow Postage Stamp Quilt by Lilabelle Lane, Postage Stamp Quilt by Red Pepper Quilts)
While the idea of a postage stamp quilt seemed simple enough, getting all of the seams to line up perfectly was driving the perfectionist in me crazy. Until, I found Elizabeth Hartman’s tutorial over on Sew Mama Sew using interfacing to piece small squares and I was hooked! I love this method of piecing. It is quick, easy and produces perfect results every time. I made my first ever mini quilt using Elizabeth’s tutorial. I used the scraps from one of the best-selling items in my handmade Etsy shop at the time to create this postage stamp mini.

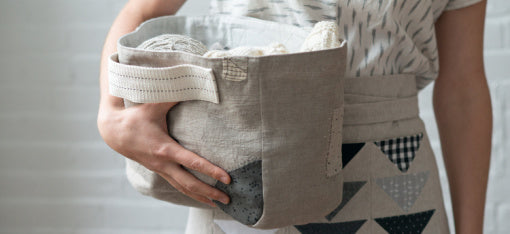
I have since made several other minis, pillows and bags using this same method, and I thought I would share how I went about it. So here is a quick tutorial for making your own 20″x20″ postage stamp mini quilt (or pillow, just add back flaps to insert the pillow form).
MATERIALS
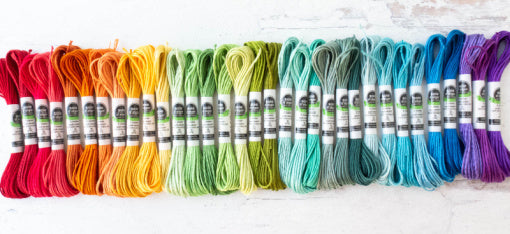
- Fabric for your postage stamp squares
- This is a fantastic scrap buster project, but you can also use fat quarters if you prefer. You will need about 100 assorted 2″ squares in the end.
- 1/2 yard border fabric
- 1/4 yard binding
- 1/2 yard backing
- Batting of your choice
- 18″ by 18″ piece of interfacing (Pellon 820 Quilter’s Grid or a fusible Sheerweight interfacing like Pellon 906F)
- Thread
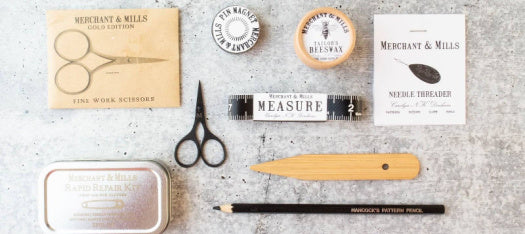
Helpful Tools:
- Quilting Rulers
- Rotary Cutter
- A pressing board & iron
- Basting Spray or Safety Pins
- Sewing Machine
CUTTING
- Cut 100 2″ squares from main fabrics
- From the border fabric, cut 2 strips that are 3.75″ x WOF
- Subcut the strips into Two (2) 3.75″x 15″ and Two (2) 3.75″ x 20.5″
- From binding fabric, cut Three (3) strips that are 2.5″ x WOF
- From backing fabric, cut One (1) 24″ x 24″ square
- From batting, cut One (1) 24″ x 24″ square

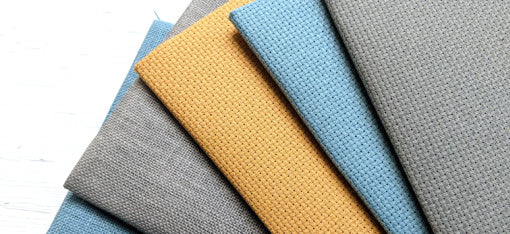
This is one of my favorite scrap buster projects, but for this example I wanted a particular color scheme so I picked out 10 different fat quarters to start. The first thing you will need to do once you have selected your fabric is to cut the fat quarters (or scrap pieces) into 2″ squares.

You will need 81 squares for this project, but I always like to cut extras so that I can play with the layout.

Next, grab your pressing board. You can use an ironing board here, but I find it easiest to arrange the squares on top of the surface I will be pressing on so that I do not need to move the interfacing once I have everything arranged. If you pick up and move the interfacing before you adhere the squares, you run the risk of shifting the squares you worked so hard to line up. So, if you have an extra wide ironing board that can accommodate the 18″ piece of interfacing, go for it. If not, you might want to think about making your own simple pressing board. (Check out Sharon Schamber’s video on how to easily make your own.)

Lay your piece of interfacing out on your pressing surface and start arranging your fabric squares to your liking using a 9 by 9 grid. You want to be very careful here to line up the squares as perfectly as you can. If you are using the grid interfacing, this is when the guide lines comes in handy. You will only use 81 squares of fabric, but I like to have extra squares in case I want to move pieces around to get a design that I like.

Once you have all of your fabric in place, grab your iron and carefully PRESS your squares onto the interfacing according to the manufacturer’s directions. I stress the importance of PRESSING versus IRONING here. Pressing means putting your iron down and then lifting and moving the iron to the next spot and pressing down again instead of ironing (moving the iron back and forth across the fabric squares). Ironing can cause your squares to move and shift, which will make the next step more difficult.

When you have finished pressing, gently lift your interfacing off the pressing surface and make sure that all of the squares have adhered to the interfacing. Once everything is secured, you are ready to move over to the sewing machine. Fold Row 1 over on top of Row 2 so that Right Sides are facing each other. (One strip of the interfacing should now be facing up towards you.)

Sew a 1/4″ seam down the folded edge. Once you have your seam, head over to your cutting mat.
Using your ruler, you are going to {very carefully} cut off the folded edge. You will be cutting a very small amount of fabric/interfacing here. Once you have cut off the fold, press the seam open. I like to finger press first to open up the seam and then go over it with my iron.

You are going to repeat these steps (fold row over, stitch 1/4″ seam, cut of fold, press open) for all of the rows and columns of your grid.

This is what the back will look like once you’ve finished stitching and pressing.

Flip it over and Voila! Here is your perfectly aligned postage stamp block!

Next, clean up your block by trimming it down to a 14″ x 14″ square. Now it is time to attach your border fabric strips. Sew the side strips (3.75″ x 15″) on first using a 1/4″ seam.

Trim up your edges and then sew on the top and bottom strips (3.75″ x 20.5″)

Trim your finished quilt top to 20″ x 20″ and you are now ready to quilt and bind using your preferred method!

One of the things that I love about this interfacing piecing method is how versatile it is. I have used it to make mini quilts, pencil cases, bags, and I am currently using it to make Elizabeth Harmon’s Tokyo Subway Map quilt.

If anything is not clear or if you have any questions, please feel free to leave them in the comments or share your own finished projects. I would love to see how you use this piecing method.

I LOVE this way of sewing all these squares together. I work with smaller squares as well and this is a great method. Thanks so much for sharing! I love scrappy quilts and cut my scraps into 1-1/2" to 5" squares. I’m not afraid to make a postage stamp quilt using this method! Woo Hoo!!
Leave a comment