


Coasters make the perfect gift for any occasion. Learn how to make a coaster with a stitched Sashiko square in this tutorial. This quick and easy project will surely become your "go to" gift for everything from Back to School Teacher Gifts to Housewarming parties and more!

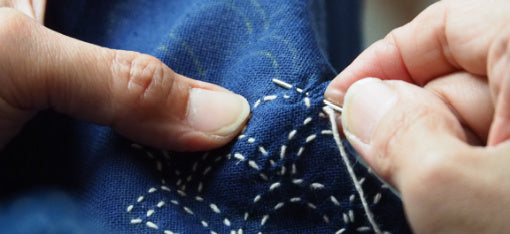
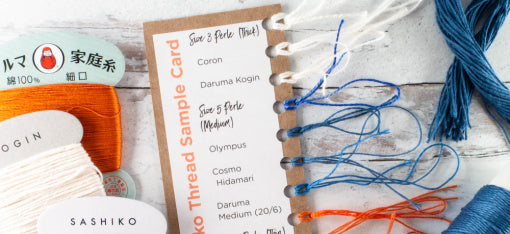
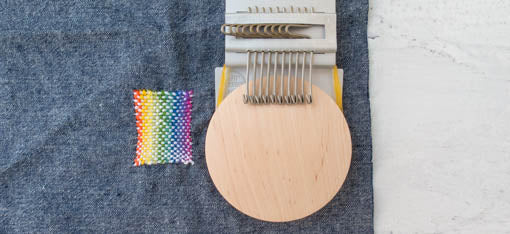
If you would like to make Sashiko coasters, you will need to stitch your Sashiko squares before starting. For the Sashiko blocks in this tutorial, I used the 5 Pattern Sashiko Sampler from Olympus, but several other Sashiko Coaster kits are available here.

To Make 1 Coaster You Will Need:
- 2 - 5" Squares of Fabric A
- 2 - 5" Squares of Fabric B
- 1 - 5" Square of Fabric C (this will not be visible in the finished coaster) *
- 1 - 5" Square of Stitched Sashiko Sampler *
- 1 - 5" Square of Cotton Batting (I used Warm & Natural)
(* If you are not using a Sashiko sampler, you can substitute 2 - 5" squares of Fabric C instead)
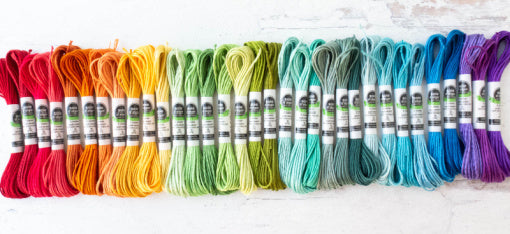
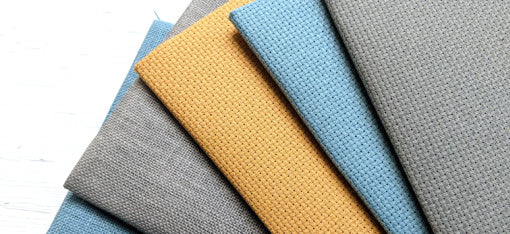
When selecting Fabrics A & B, choose coordinating colors/patterns. These are the 2 fabrics that you will be interlocking to make the top of the coaster.

The trickiest part of making these coasters is stacking the pieces of fabric correctly, so let's walk through it step by step.
The 1 Square of Fabric C will end up being INSIDE the finished coaster and you will not see it.

The Sashiko Square will be the bottom of your finished coaster.

Start stacking your squares. First, place Fabric C WRONG SIDE UP on your work surface. Next place your square of batting. Then, place your Sashiko square RIGHT SIDE UP (so the design should be facing you).


Now, take your 4 squares of Fabrics A & B over to your ironing board and fold them in half with the RIGHT SIDE facing out (so the back of the fabric should be inside the fold).

Iron and crease the fold.

Once all 4 squares are ironed in half, head back to your stack of squares.

Take 1 of your Fabric A pieces and lay it on top of your Sashiko square on the left hand side, matching up the raw edges. Make sure that your ironed crease is at the center of the Sashiko panel.

Next, lay 1 piece of Fabric B along the top edge of the Sashiko square once again lining up the raw edges and making sure your ironed crease is at the center.

Take the second piece of Fabric A and lay it on top of the piece you just put down on the right hand side of the square, matching up the raw edges.

To place the final piece of Fabric B, lift up the bottom half of the first piece of Fabric A that you put down on the left hand side of the square.

Now lay down the final piece of Fabric B along the bottom edge of the square with the raw edges facing out and matching the other layers and drop the bottom half of Fabric A down on top of it.
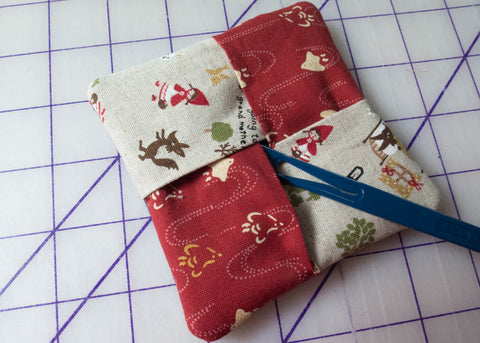
Your stack of squares should now look like this ...

!! Double check that all of the edges that are inside the square are your ironed edges, NOT the raw edges.

Pin all the layers together.

Using a 1/2" seam allowance, sew all the way around the edges of your squares.

Clip the corners and trim the seam allowance down to 1/4"

You're almost finished! Turn your coaster inside out by opening the center to your bottom layer (the Sashiko panel in this case).
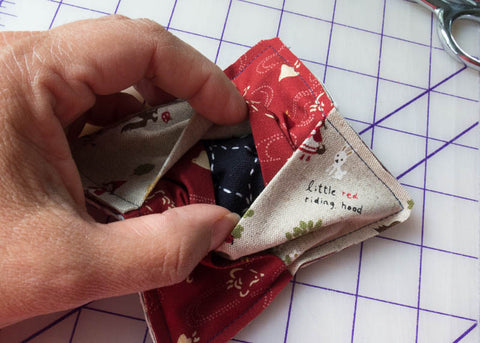
Now turn the coaster inside out.

Poke out the corners & iron it flat.

Ta Da! You're Done! Enjoy your new coaster!

It is easy to adjust this technique to make it your own. You can use larger squares to make bigger coasters or add some top stitching along the outer edge. Experiment and have fun!


That is such a fantastic idea Sarah Jane! Thanks so much for sharing!
I’ve seen these made and used specifically for wine glasses, as you can slide the bottom of the wine glass into the center of the coaster. This way you don’t leave your coaster behind when you take it around with you. You can even use them to “mark” your glass if you have different fabric combos!
Leave a comment