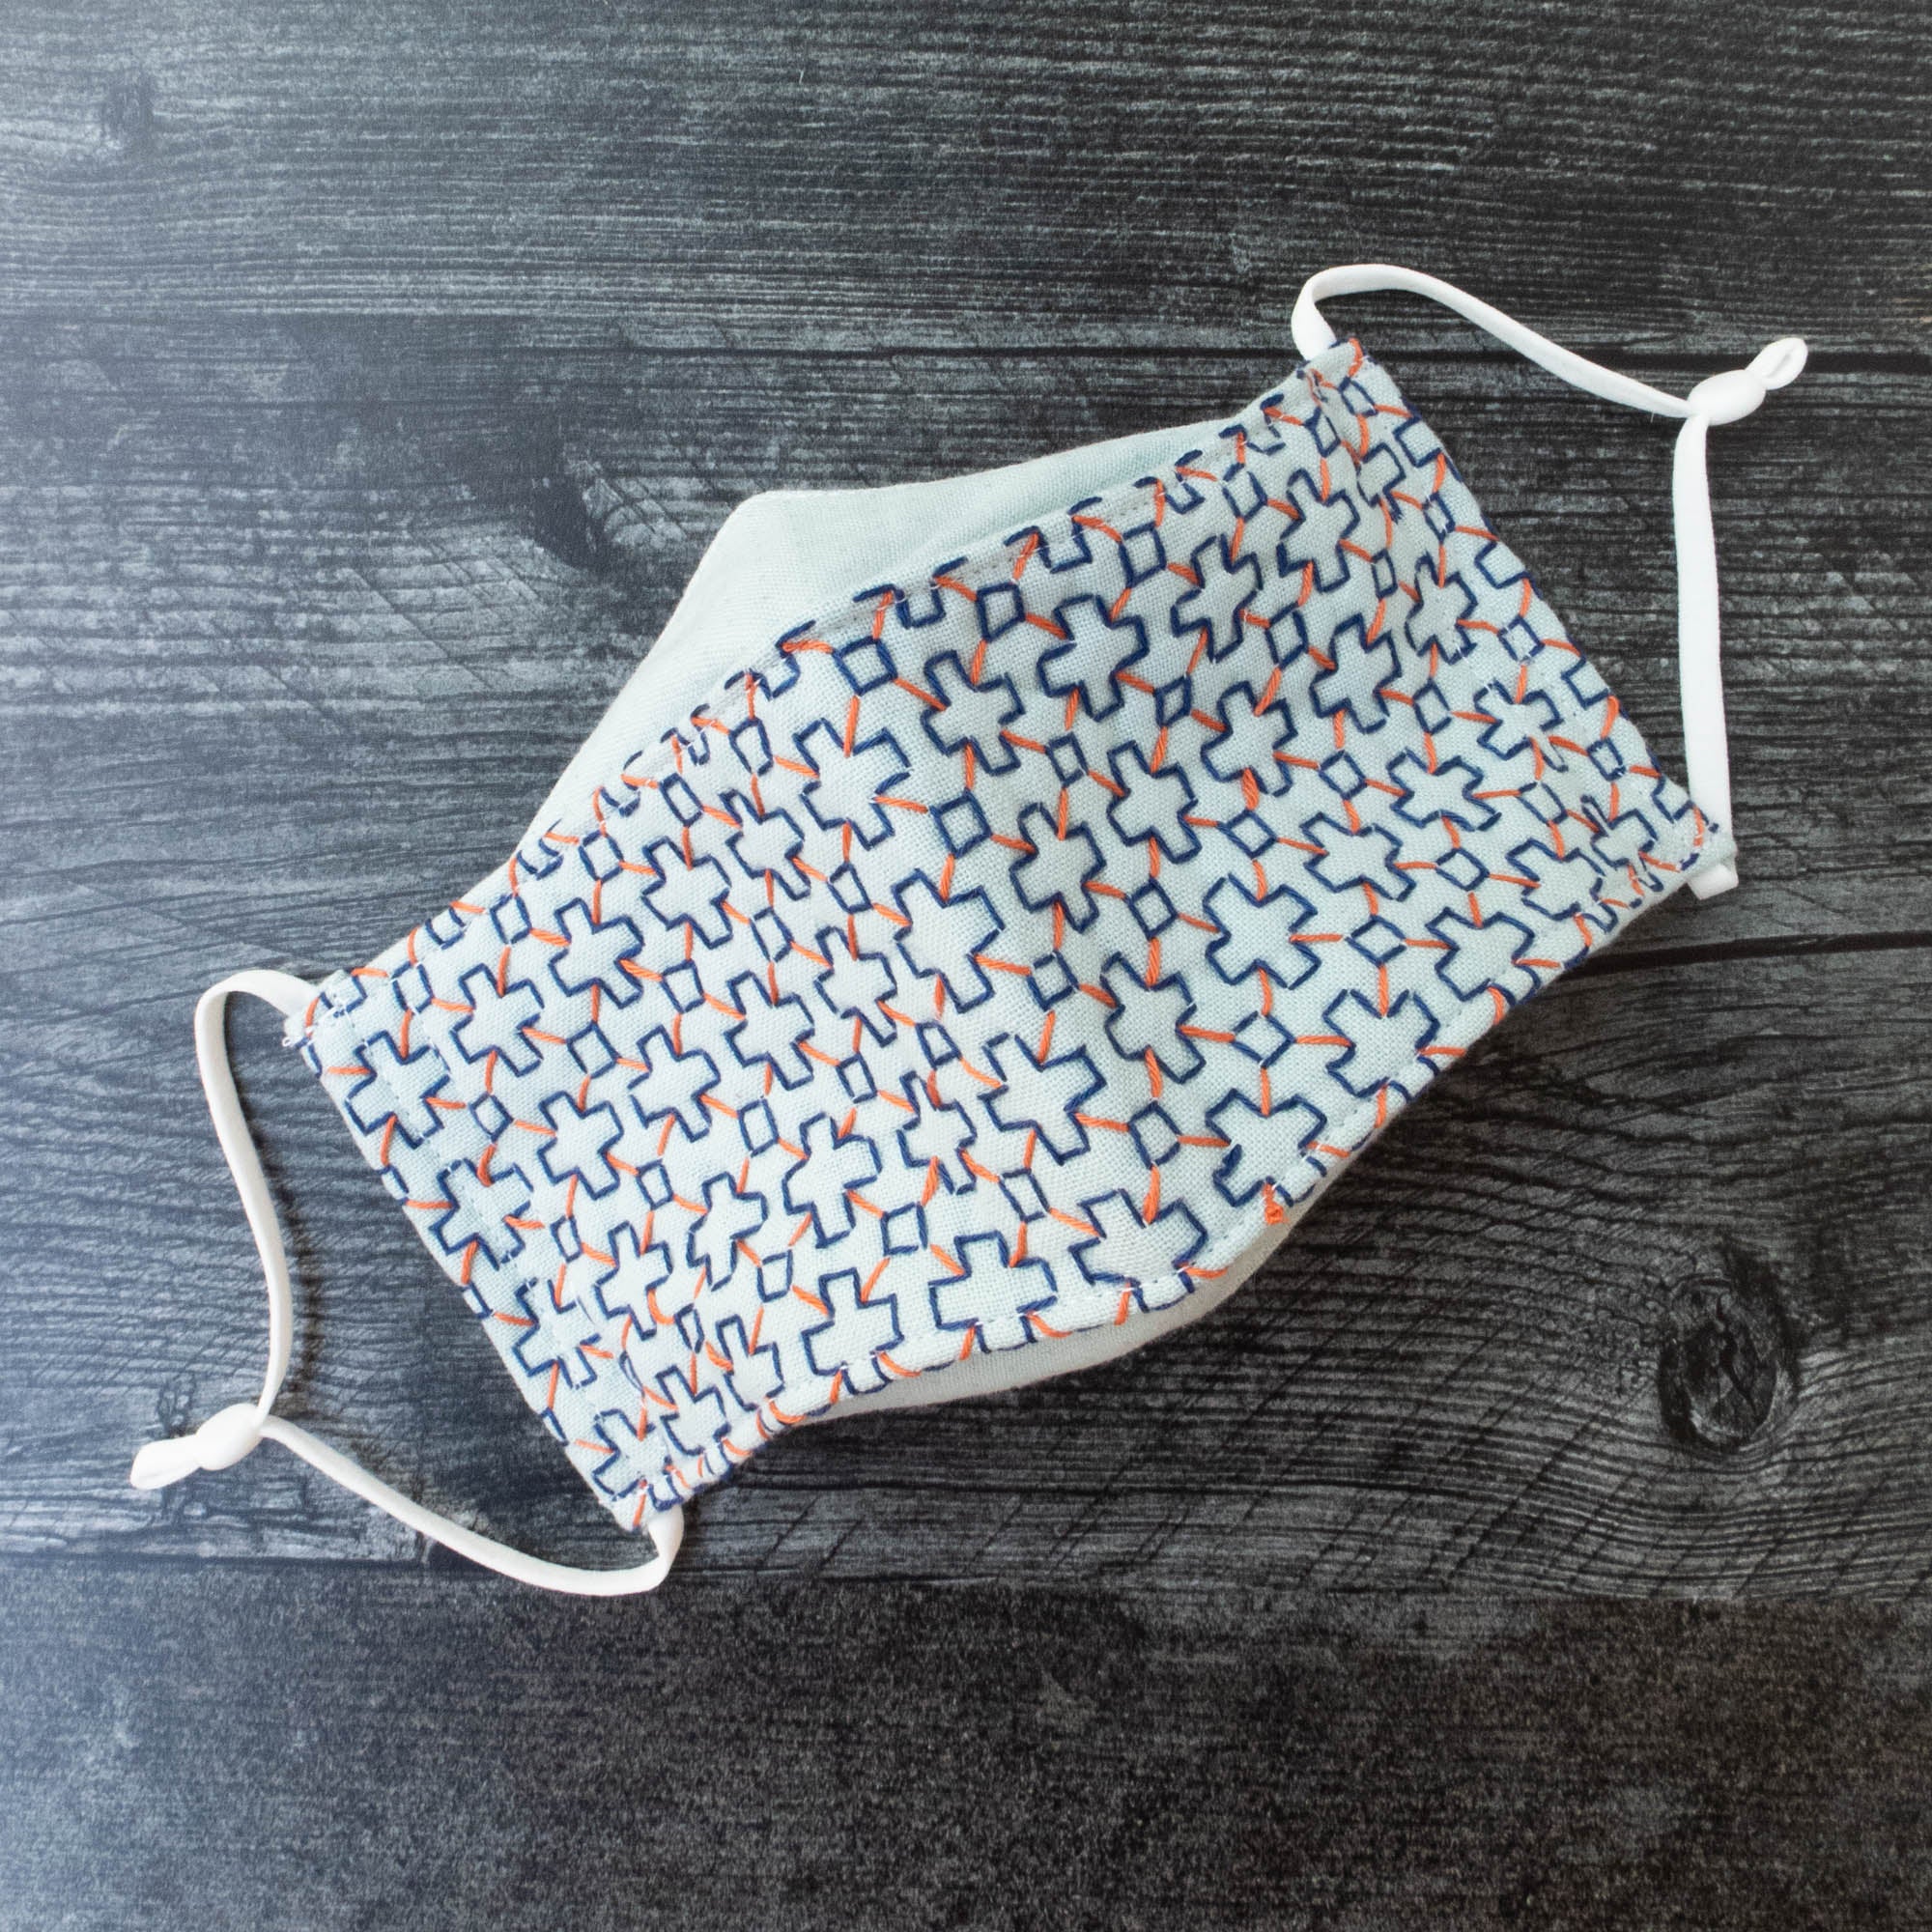
Face masks have become a part of our daily lives this year. I have lost count of how many I have sewn over the last several months, but recently I have started to shift from mass production mode to specialty masks for the special people in my life. Inspired by the tutorial published by Olympus Manufacturing of Japan on how to hand sew a rubber-free mask with Sashiko designs, I decided to embellish my favorite mask pattern (the Contoured 3D Face Mask from Japanese Sewing Books' Blog) with some Sashiko stitching. In this tutorial, I will walk you through how to add a Sashiko design to this face mask pattern. Let's get started!

The Contoured 3D Face Mask pattern comes in several sizes. Before we begin, be sure to download the pattern in the appropriate size you would like to make. For this tutorial, I made the XL Size because I like the full face coverage it provides. If you choose to make a smaller size, the final stitched design will also be a bit smaller in scale.

Supplies You Will Need:
- Sashiko Dot Grid Sampler - Straight Line Grid (I used the Teal Color)*
- Washable Marking Pen
- Sashiko Needles
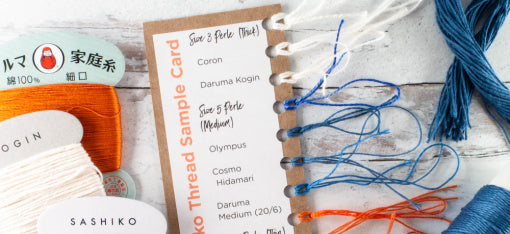
- Sashiko Thread (I used Daruma #216 and #214 here)
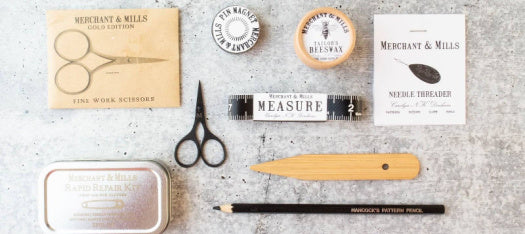
- Scissors
- Fabric for the Backing Layer of your Mask
- Elastic Ear Loops
* You can stitch on just about any fabric you'd like. It does not need to be the Dot Grid samplers, but you will need to draw out your grid before you begin if you choose a different fabric. You will need a few additional supplies, like a Hera Marker or Chalk Pencils to help you draw out the grid.

Begin by ironing out your fabric and tracing the mask pattern onto your fabric. Be sure that you are tracing the EXTERIOR part of the pattern, not the lining. The Dot Grid Sampler comes with a second layer of fabric. I used both layers here. Once you have it traced, go ahead and cut out the pattern (through both layers).

Next, select the pattern you would like to stitch. I will walk you through how to stitch this particular Hitomezashi design, however another alternative would be to use a Sashiko Stencil to draw out a Sashiko pattern onto your fabric.

Now it is time to mark out your design space. Fold your fabric back where the diagonal cuts begin on the outer edges of the mask pattern. When you do this, you will end up with a long rectangle. This is the area that will become the front panel of your finished mask and where we will be stitching the design. Crease your fabric firmly, so that you can see the crease lines when you unfold it.
Hitomezashi is a style of Sashiko stitching where the single stitches touch each other to create densely stitched designs. Hitomezashi means "single stitch". All Hitomezashi designs are stitched in the same way - horizontal lines first, then vertical and finally the diagonals. So, that is how we are going to draw out the pattern. Grab your marking pen and let's get started!

Starting at the bottom left hand corner of your stitching area that you just marked off, you are going to start by drawing out the Horizontal Lines. On Row 1, skip the first segment and draw a line between dots 2 & 3, skip a segment, then draw a line between dots 4& 5 and continue this pattern all the way down the row.
Rows 2 & 3 are identical. Draw a line connecting Dots 1& 2, then skip a segment and draw a line connecting Dots 3 & 4, line, skip, line, skip, line, skip ... all the way to the end of the rows.
Rows 4 & 5 are identical and should be the same as Row 1.
Rows 6 & 7 are identical and should be the same as Rows 2 & 3.
Rows 8 & 9 are identical and should be the same as Row 1 ....
Continue repeating this pattern until you have reached the top of the stitching area.

Next, you will draw the Vertical Lines following the same pattern you used for the horizontal lines. Starting on the bottom left hand side, on the first column in from the edge draw a line connecting dots 1&2, skip a segment and then draw a line connecting 3 & 4, skip, line, skip, line ... Columns 1 & 2 are Identical.
For Column 3, draw a line connecting dots 2 & 3, then skip a segment and draw a line connecting 4 & 5, skip, line, skip, line .... Columns 3 & 4 are identical.
Columns 5 & 6 are identical to columns 1 & 2. Columns 7 & 8 are identical to columns 3 & 4. Continue repeating this pattern all across the mask.

You should start seeing a pattern emerging with Crosses and Boxes. The next step is to draw out the diagonal lines. Starting at the bottom left hand corner and going up diagonally, you will draw lines to connect the Bottom Left and Top Right corner of the Boxes to the interior Corners of the neighboring Crosses. Work your way across the mask drawing these diagonal lines.

For the final step, start on the upper left hand corner of your mask stitch area and draw in the diagonal lines going downwards. This time you are connecting the Upper Left Hand/ Lower Right Hand corners of the Boxes to the interior corners of the neighboring Crosses.
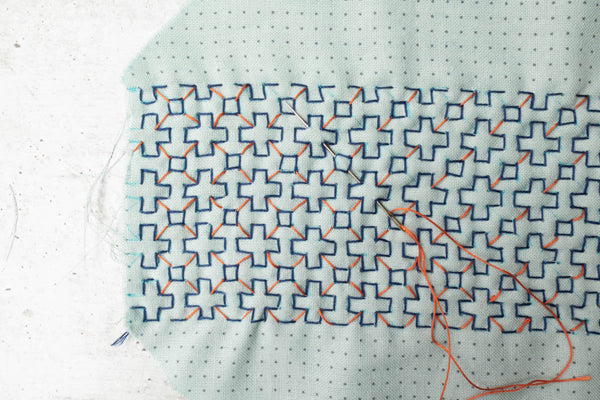
You are now ready to start stitching in the same order as you drew out the lines! (Drawing out the pattern is the toughest part, I promise!) Your pattern should look like this before you begin stitching:

In order to secure my two pieces of fabric together, I stitched along the bottom row first and then up the right edge, back across the top and then down the left edge. This kept my two layers from shifting around as I stitched the rest of the pattern. Once the outline stitches are done, start by stitching out all your horizontal lines, then your verticals and finish up with the diagonal lines.

When you have finished stitching your design, you will need to soak the sampler in cold water overnight (for at least 12 hours) for the dot grid to wash away. (I got impatient and only waited a few hours before drying it and finishing up my mask, which is why you can still see a shadow of the dots on my finished mask. But these will disappear as the mask gets washed, so I'm not too worried.) Follow the instructions provided by Japanese Sewing Books' fantastic tutorial to finish sewing up your new mask!

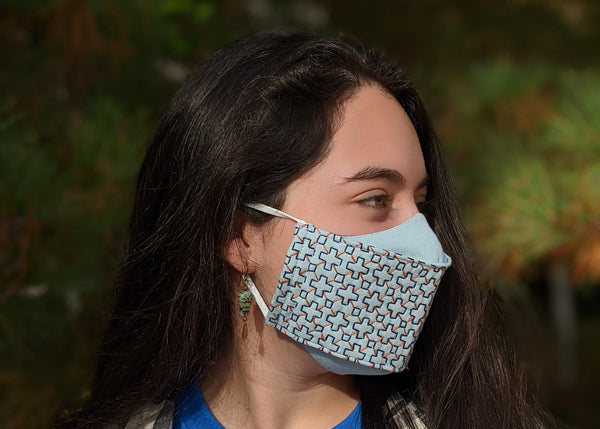
Don't want to draw out your own pattern, but still want a unique Sashiko mask? No problem! You can do this with any of the pre-printed Sashiko samplers. Just cut your face mask pattern out of the pre-printed sampler, mark off your stitching area and start stitching! All of the Olympus samplers come printed in wash away ink, so the design on the parts of the fabric that you do not stitch will wash away. Happy Stitching!





Ok, you got me.illhave to use my points to do this! ❤️
Leave a comment