
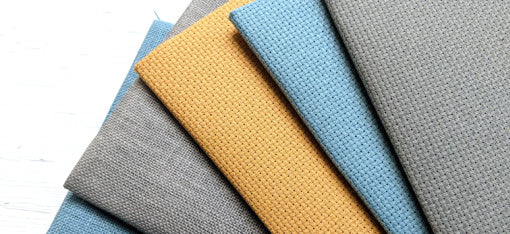


Fabric tension is very much a matter of personal preference among stitchers. Some people enjoy stitching on fabric that is as tight as a drum, while others prefer to stitch in hand without a hoop at all. Certain projects are easier with tight fabric tension, while other stitches might require a good amount of give in the fabric in order to be executed properly.
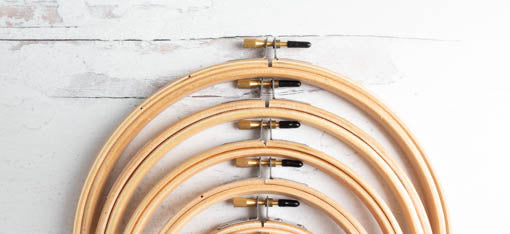
Different styles of hoops do a better job of holding fabric tension. If you are in the tight tension loving camp, then Q-snaps, Morgan Hoops or the Eversewn hoops might be just what you are looking for. Traditional wooden embroidery hoops tend to lose tension fairly quickly as you stitch in them, but there is an easy fix for this problem - binding your hoop.
Hoop binding means wrapping one or both rings in order to create a better grip on the fabric and reduce fabric slipping (i.e. tension lessening) while stitching. An added benefit of binding your hoop is that it can also help minimize creases on your fabric. Binding a hoop is quick and easy and can be done with common supplies you probably already have in your stash.

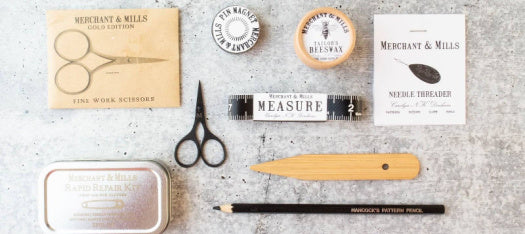
Supplies:
- Wooden Embroidery Hoop
- Twill Tape, Bias Tape or Strips of Fabric (I used 5/8" cotton twill tape here)
- Bohin Wonder Tape or Needle & Thread
- [Optional but helpful] Fabric Clips

To begin, separate your inner and outer hoop rings. Set the Outer Ring (the one with the screw on the top) aside and grab your inner ring and twill tape. Leaving about a 1/2" tail, start wrapping the twill tape around the inner ring. Use a fabric clip to keep your tail in place while you wrap.

Continue wrapping the twill tape all around the inner ring. I lay my twill tape flat so that the edges butt up against each other and do not overlap because this keeps the ring surface as flat as possible to minimize crinkling the fabric in my hoop. Some people prefer to overlap their binding material because they feel it gives an even stronger grip and it is faster to do. It is personal preference, so do what works best for you.

Once you have made it back to where you started, grab another fabric clip to keep your wrapping snug in place while you grab a piece of Wonder Tape.

On the INSIDE of the inner ring, adhere an approximately 1/2" piece of Bohin Heavy Duty wonder tape. Bohin Wonder Tape is stronger and creates a more permanent bond than the wonder tape that is often used to temporarily hold zippers in place while sewing. Once in place, Bohin Wonder Tape will hold your binding fabric in place for years. I prefer this method because it creates a very flat, seamless finish; however, if you do not have a double-sided adhesive tape on hand you can also sew the two ends together with needle and thread using a whip stitch.

Press one end down flat onto the tape. Next bring the other edge around and cut it to match the first end to create a flat, seamless finish.

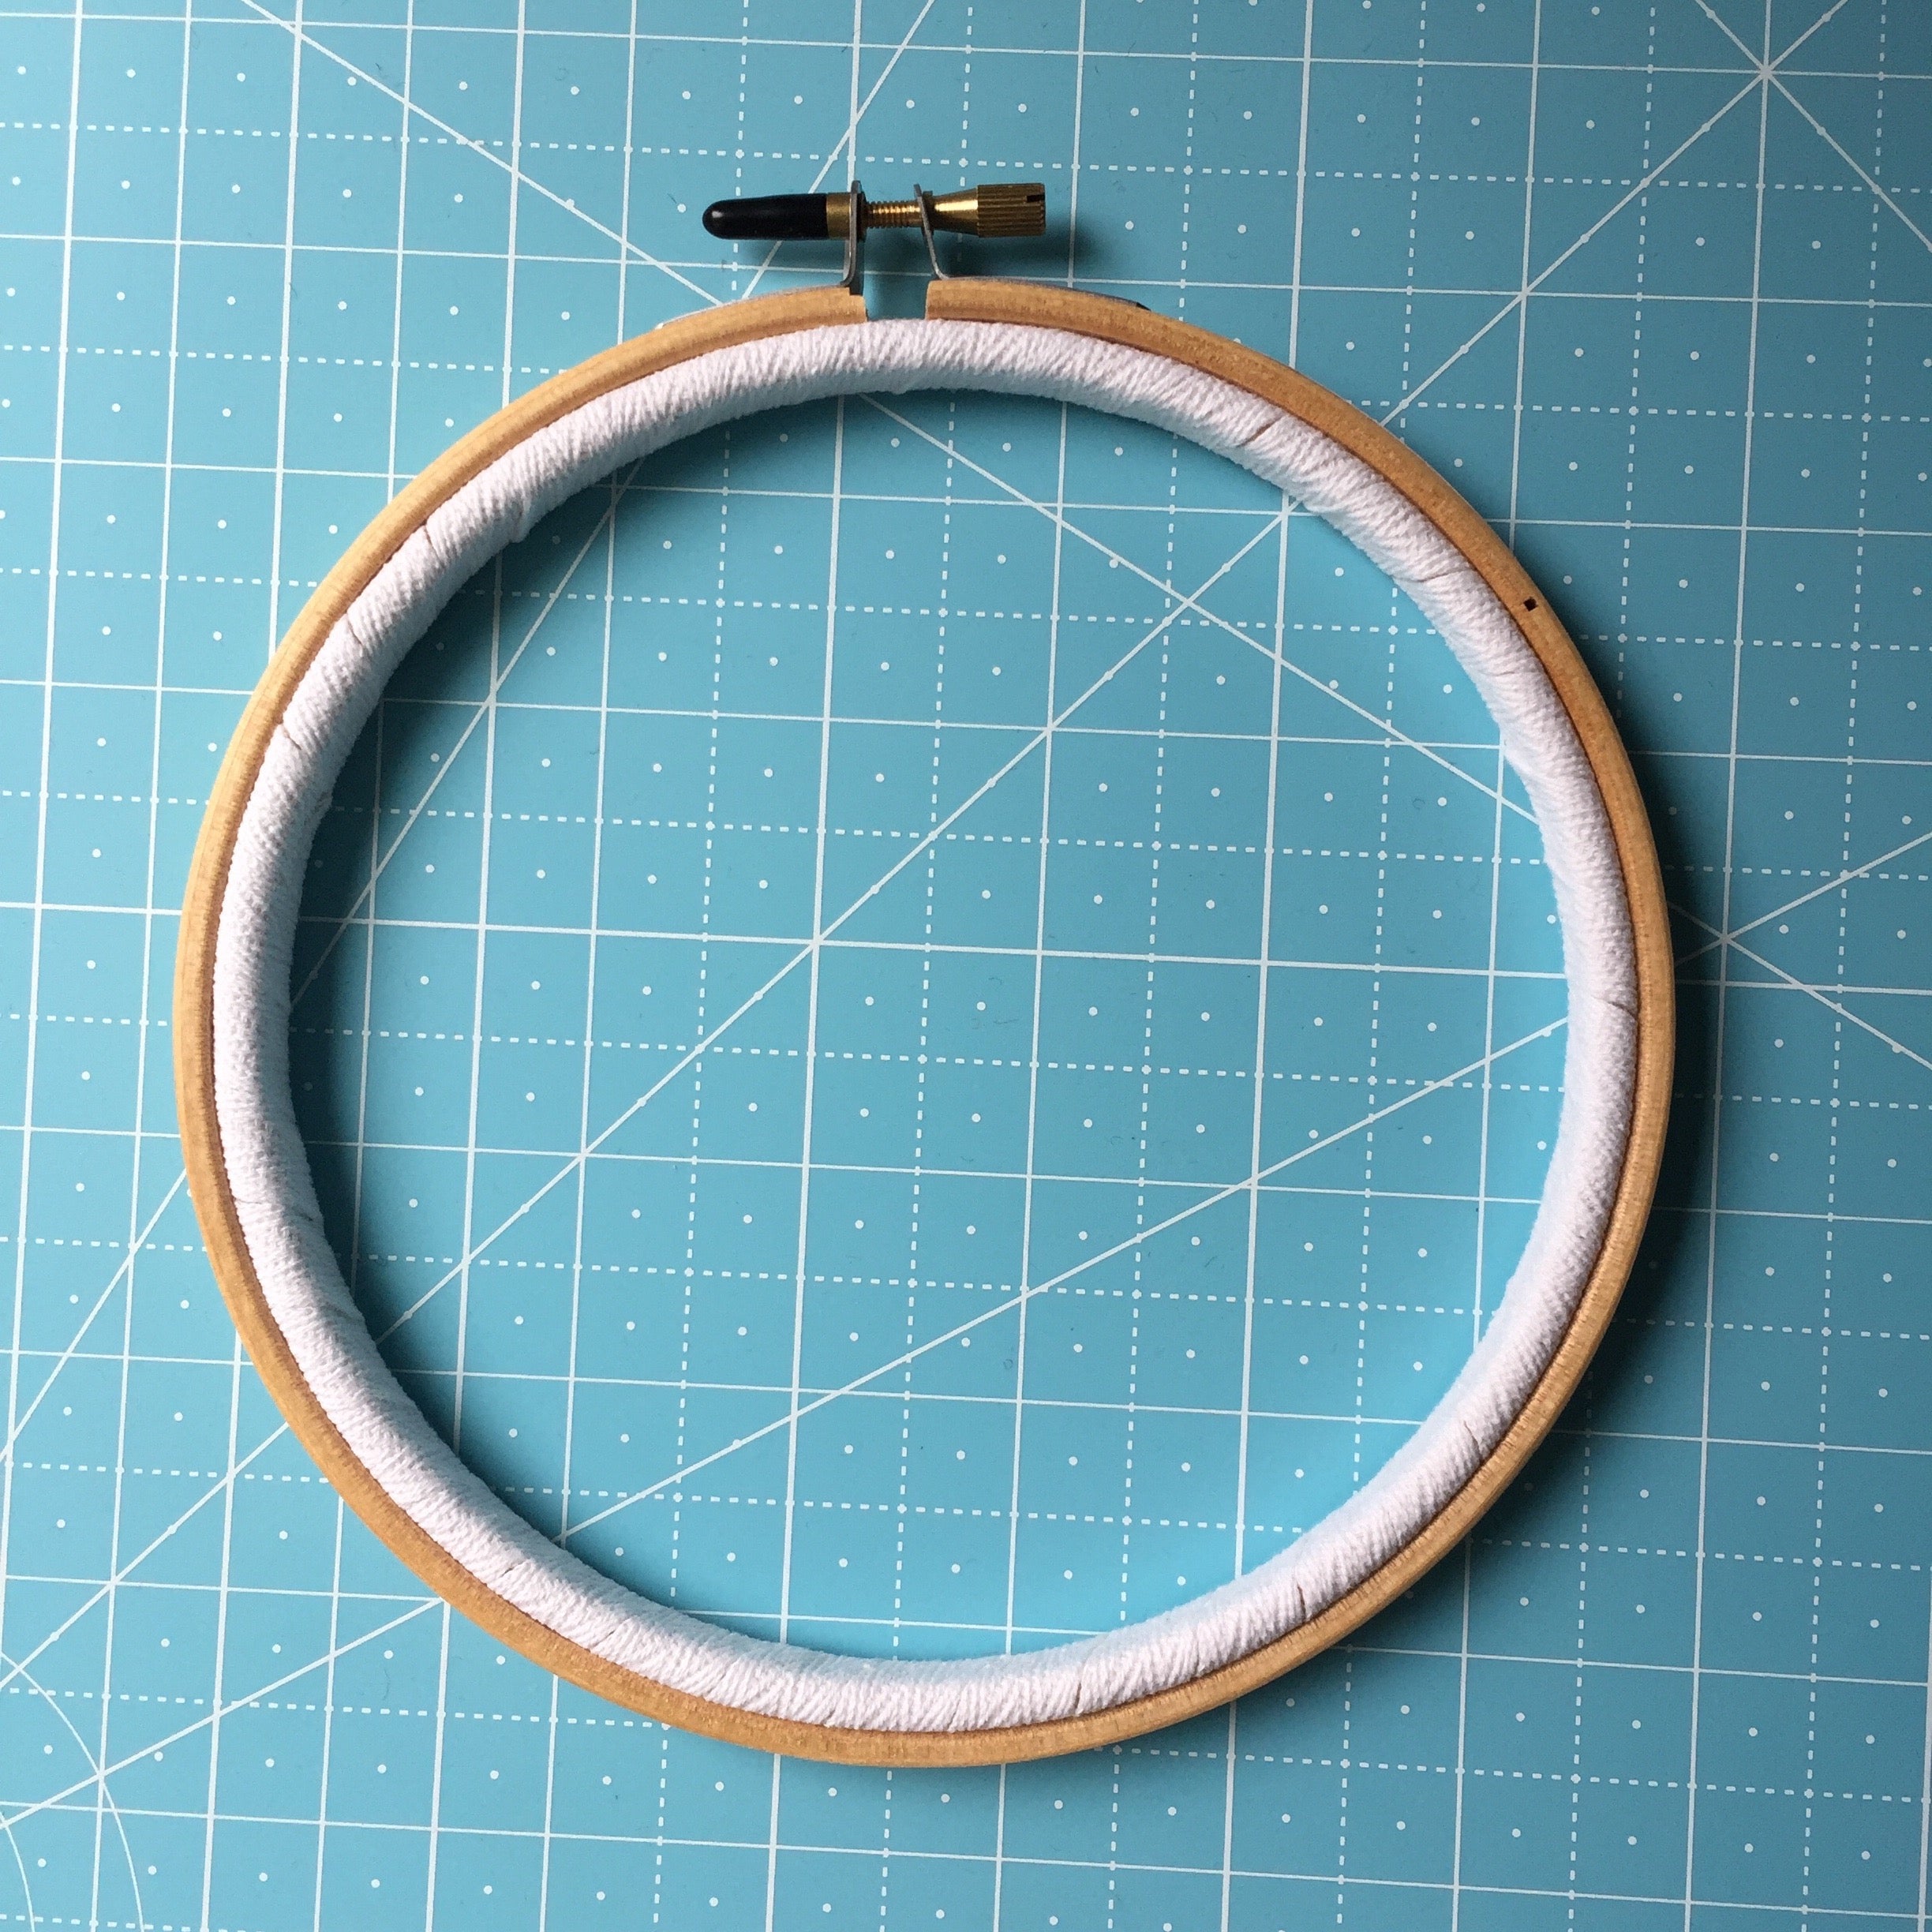
That's it! You now have a bound hoop and you are ready to start stitching

Place your fabric in your hoop as normal and you should find that your fabric will slip less while you stitch. You may need to open the screw a little wider than normal to accommodate the extra bulk of the wrapping.


I used approximately 1-3/4 yards of 5/8" twill tape to wrap this 7" hoop. The amount of binding material that you will need will depend on the size of your hoop and whether or not you overlap your layers of tape as you wrap. In addition to cotton twill tape you can use bias binding or strips of fabric. You may want to fold the strips of fabric in half to make them a little thicker for wrapping. Happy Stitching!

ooh! This is great! I’m gonna try this! Thank you for sharing, I’ve also shared this with my local stitchy club! <3
I like this method. I’m one of those that like my fabric to be very stiff. Thank you for the tutorial.
Leave a comment